Soildrops Soil Moisture Sensor Installation TutorialUpdated 2 months ago
Estimated installation Time: 3 mins each sensor
The sensor can transmit up to 100 feet without major obstacles, and 60–80 feet when transmitting through a house. A booster can extend the range to over 300 feet. For best performance, place the booster within 50 feet of the sensor. Boosters can be purchased at Soildrops.com.
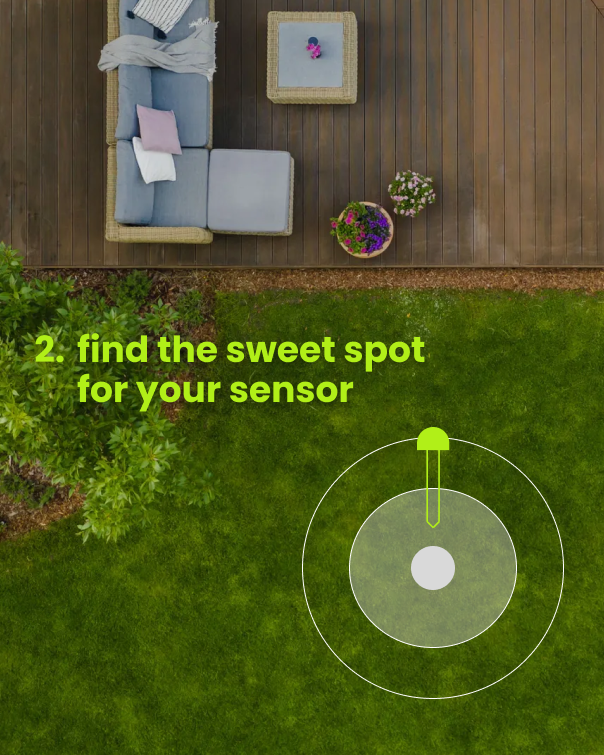
Step 1: Place Your Sensor
Sprinkler Zones: Place in the center of the zone.
Dripline Zones: Place under a drip hole at the midpoint for accurate readings.
Pro Tips:
-
Place near the controller for the strongest signal.
-
Avoid having concrete or metal doors between the controller and sensor.
-
Do not place the sensor next to footings, concrete, rocks, or bricks.
-
Position the sensor at the highest point in the area whenever possible.
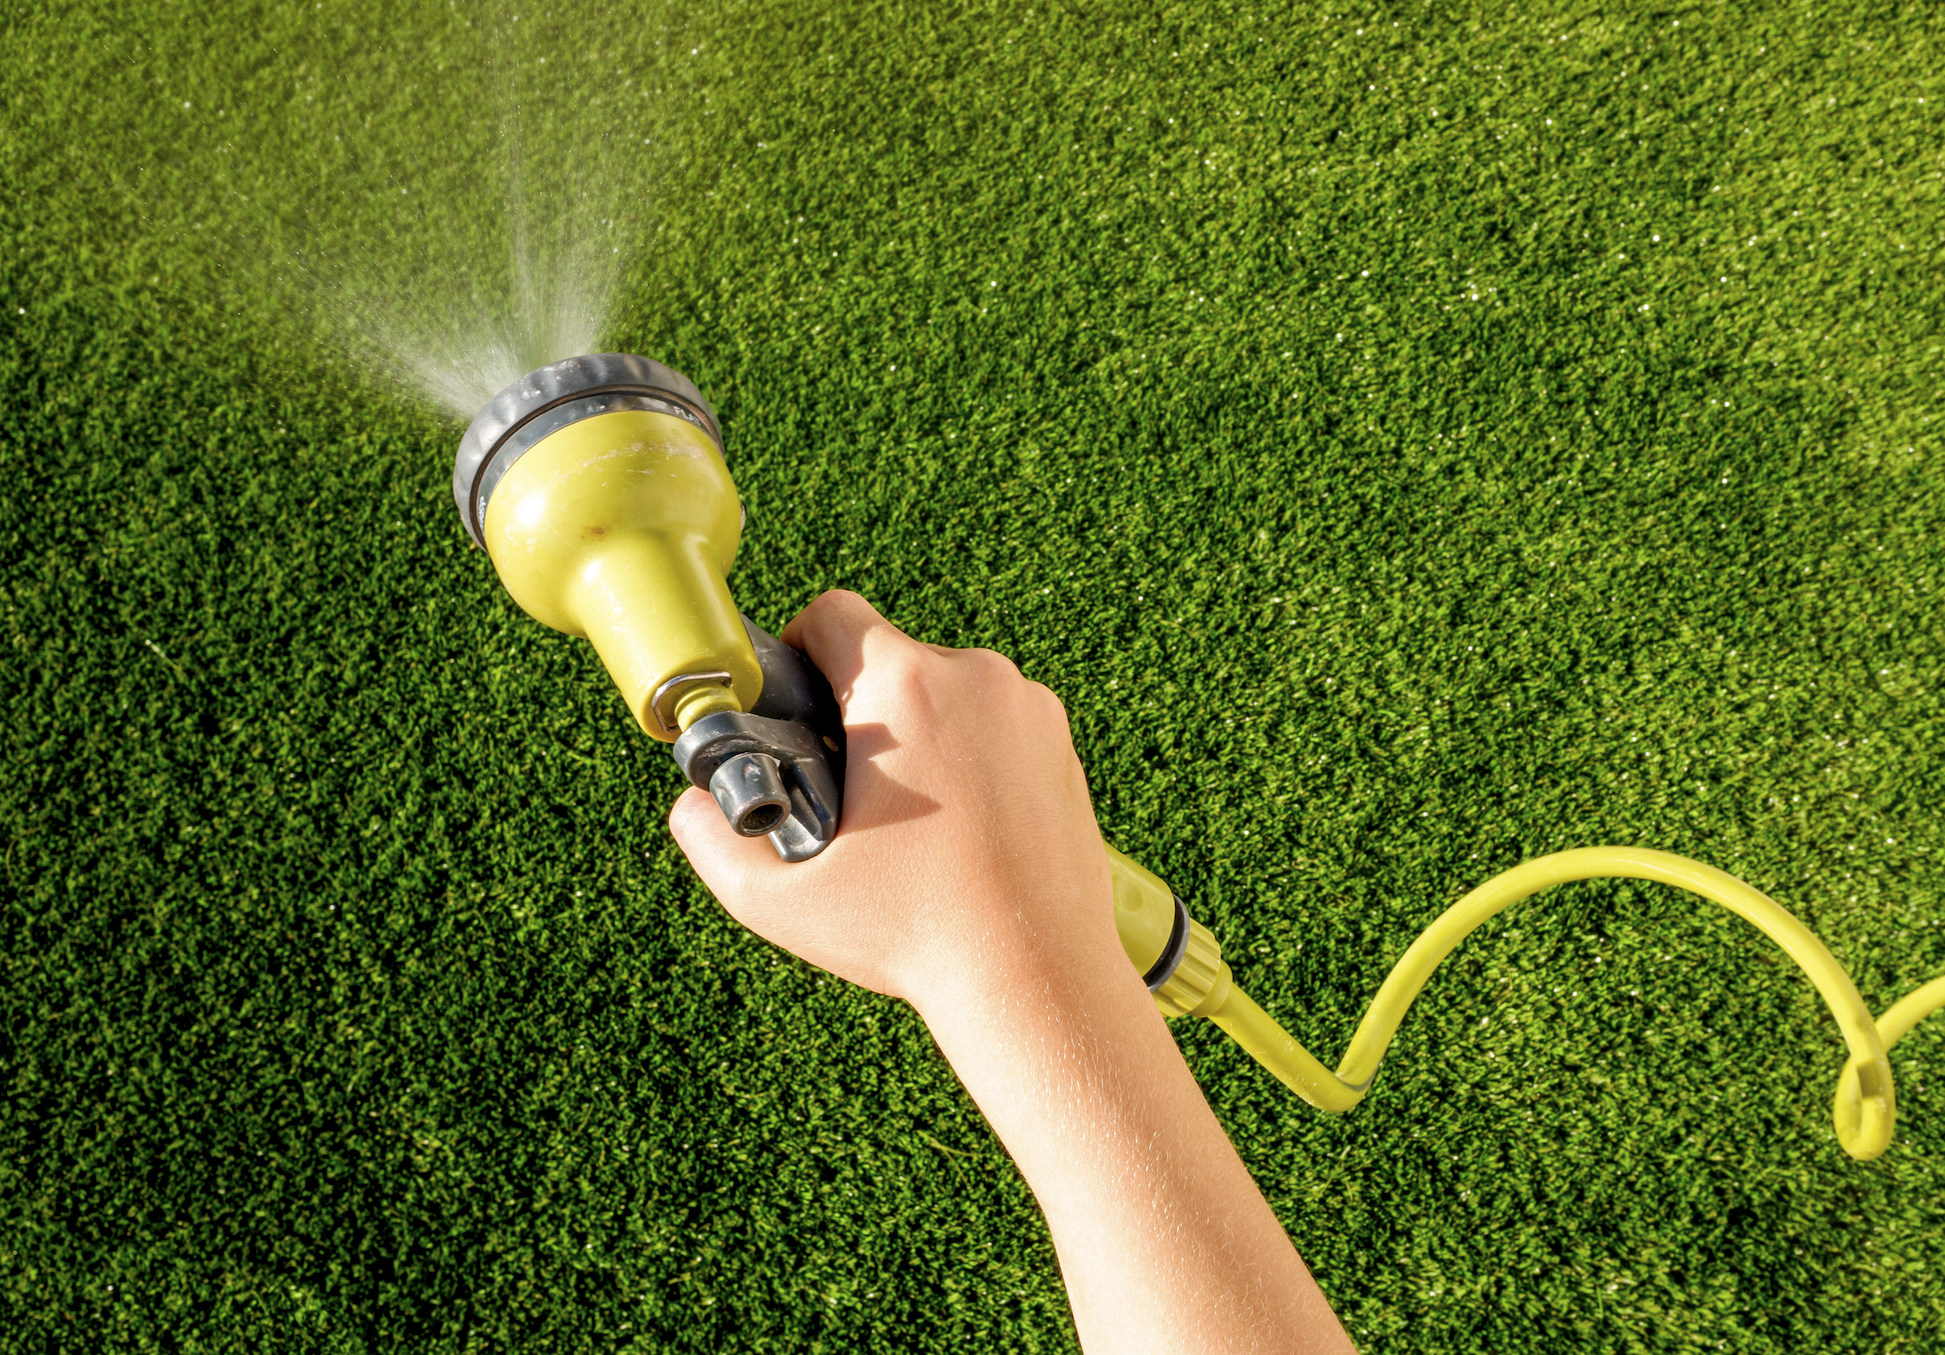
Step 2: Moisten Soil
- Avoid damage by inserting into moist soil.
- Water the area manually or, use QuickRun (3-5 min) in the app.
Step 3: Pair Your Sensor
- Near controller, hold button (5s) until LED blinks.
- In the app, tap 'Add Sensor' and scan the QR code.
- Wait for pairing confirmation.
Step 4: Sensor Insertion
- Gently push sensor into soil. Stop and move if you feel resistance.
- Push sensor down until top is flush with soil.

Step 5: Wait for Data
- Initial 0% moisture is normal – don't worry! You’ll recieve an accurate reading within 10 minutes.Congratulations, your sensor is now monitoring soil moisture.
- If no data appears after 10 minutes, try moving the sensor to a different spot for a better signal.